
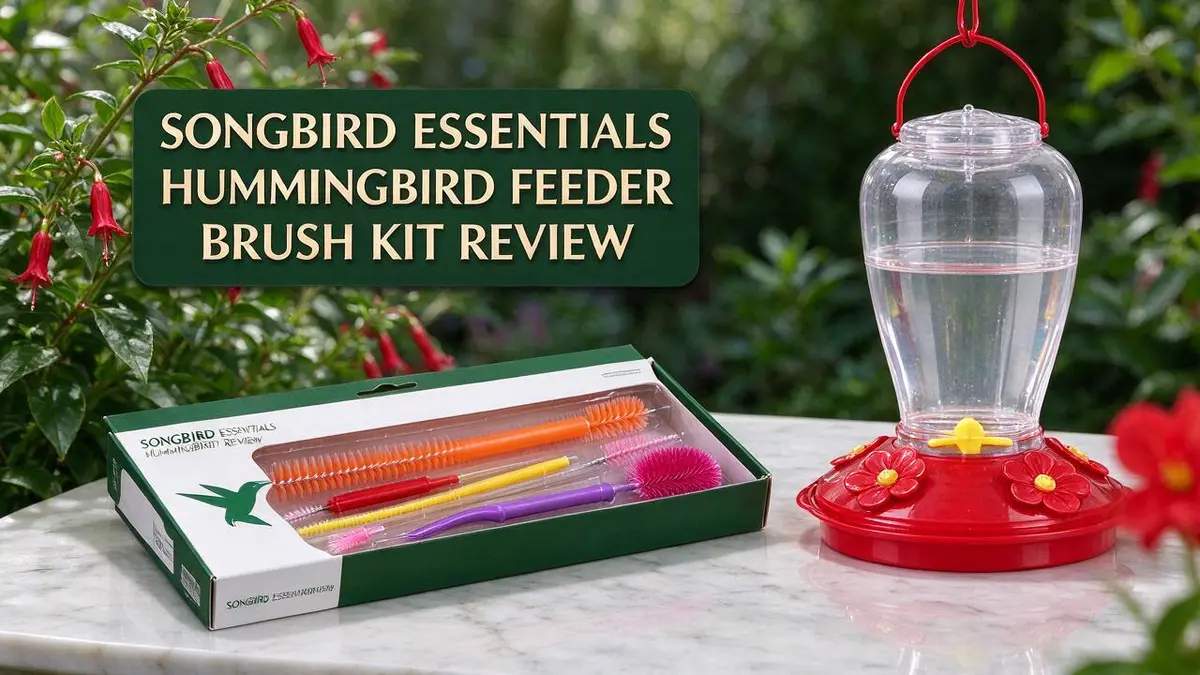
Songbird Essentials Hummingbird Feeder Brush Kit Review 2026
Hummingbirds are tiny, fast, and full of energy. They need fresh nectar to fuel every flight.
A dirty feeder can grow mold and cause nectar to ferment. Regular cleaning keeps the sugar water clear and odor free, which protects the health of your visitors.
That is where the Songbird Essentials Hummingbird Feeder Brush Kit comes in. It is a simple set of brushes for reaching the spots where residue likes to hide.
One user in a Facebook group says the small brushes also work well on regular feeders. This review looks at how the kit performs, what it does well, and whether it deserves a spot in your cleaning routine.
In a Nutshell
- Quick take: This review looks at the Songbird Essentials Hummingbird Feeder Brush Kit for anyone who wants a simple way to scrub feeders by hand. It focuses on what matters most for everyday use.
- Who it suits: Bird lovers with a hummingbird feeder at home can add this kit to a simple weekly routine. It helps keep the cleaning step quick and easy.
- Why brushes matter: Feeder ports and narrow tubes are hard to reach with a sponge or your fingers. Small brushes can reach these tight spots and scrub away residue that you might otherwise miss.
- Hands-on cleaning: Scrubbing by hand lets you see every corner of the feeder. You can check each part and spot wear or buildup before you refill it with fresh nectar.
- Limited public details: Public research does not yet list full specs for this kit. Check the product page for current details before you decide if it fits your feeder setup.
- Next steps: Keep reading for a closer look at how the kit works, tips for using it well, and what to expect from your cleaning routine.
Brush Design and Reach

- Two Heads. Two Jobs. One Brush that Does Both - Most hummingbird feeders have two cleaning problems: the reservoir or tube that needs a full scrub, and the feeding ports that need something smaller and more precise. This 17-inch double-ended brush solves both without switching tools. The large 4-inch bristle head scrubs tubes, reservoirs, and main chambers. The small 1.5-inch ball head reaches ports, spouts, and tight interior curves.
- Nylon Bristles that Scrub without Scratching - Glass feeders, plastic feeders, acrylic feeders - the non-scratch nylon bristles on both ends clean thoroughly without leaving marks or dulling surfaces. The twisted wire handle is flexible enough to follow curves inside bottle-style feeders without forcing an awkward angle. Designed by Songbird Essentials, founded by one of the most knowledgeable birding experts in the country.
Last update on 2026-09-12 / Affiliate links / Images from Amazon Product Advertising API Some of the links on this website are affiliate links, which means that at no additional cost to you, I earn a commission if you click through and make a purchase. I only recommend products and services that I believe will add value to my readers. Thank you for your support!
Brush design shapes how well a kit handles real feeders. The small heads in this kit can slip through narrow openings. That gives you a practical way to work inside the feeder.
Reach is the next thing to check. Ask yourself how deep the brush needs to go. Many feeders have ports that sit deeper than they look from the outside.
Before you start, hold the brush against your feeder. Look at where the bristles land. If the tip meets the spot you need, the reach should work for that feeder.
Think about the angle too. A straight handle may feel awkward on some feeder shapes. Try to match the brush angle to the curve or corner you want to clean.
Look for bristles that clean without scratching. Gentle contact helps keep the plastic in good shape over time. Harsh scrubbing can leave tiny marks where residue builds up faster.
Your feeder style decides what works best. A bottle style feeder has a narrow neck. A saucer style feeder has wider openings that need less reach.
Test the fit once before you clean. This avoids surprises in the middle of a scrub. It also shows you where you may need your fingers or a second tool.
Your own hand matters as well. A longer reach gives you more control over the brush. A short reach may leave hard to see spots untouched.
Feeders with several parts need a close look. Each piece may need a different angle. Clean one section at a time so nothing gets missed.
Final check: after cleaning, rinse each part well. Let everything dry fully before you refill the feeder.
Scrubbing Power on Feeder Parts
Scrubbing power matters most when grime builds up in hard spots. A feeder often collects residue in its ports, its base, and its tiny crevices. Simple scrubbing needs the right pressure and the right motion.
Start with the base. Nectar leaves a sticky film on the bottom of the feeder. Gently scrub the base in small circles. This loosens the film without forcing the brush into the seams.
Move on to the ports. Each port often holds a bit of old nectar. Push the brush in and turn it slowly. You will feel the bristles catch the residue. Keep the strokes light so the plastic stays in good shape.
Check the moat and the lid. Many feeders have a moat that collects ants and dirt. Work the brush around the rim. Then look at the lid threads, where mold likes to hide. A few quick passes usually clear them.
Watch your pressure. Hard pushing does not clean better. It can wear down parts over time. Let the bristles do the work. Light, steady motion removes buildup and keeps the feeder intact.
Mix up your motion. Use a back and forth stroke for flat areas. Use a twisting motion for openings. Switching motions helps you reach every surface.
Soak tough spots. If residue looks dark or stuck, soak the part in warm water for a few minutes. Then brush again. The soak softens the grime, so the scrub takes less effort.
Good scrubbing saves time later. Clean parts drain well and dry faster. Your feeder stays fresh, and your visitors stay happy. Regular scrubbing also keeps nectar clear.
Compatibility With Standard Feeders
Shape matters more than size. Regular feeders come in many shapes, from tube styles to tray styles. A brush that suits one design may feel clumsy on another. Each feeder design asks for a different approach.
Tray and perch areas need different care. Seed feeders often include trays, perches, and covers. A narrow brush can reach corners on these parts. Larger flat areas may still need a sponge or cloth.
Look for seams and cracks. Some feeders have small gaps where grime hides. Brushes can slip into these spots and lift residue. Use gentle pressure so the material stays safe.
Separate brushes can prevent mix ups. If you clean hummingbird and seed feeders on the same day, keep their tools apart. This habit helps keep seed dust away from nectar parts.
Expect some trial and error. Every feeder has its own design, so your method may change. Take your time and adjust as needed. A little patience goes a long way.
Keep notes on what works. Write down which brush fits each feeder. Over time, this list makes cleaning day faster and easier. Your future self will thank you.
Think about your whole setup. Many yards host several feeders at once. Plan a cleaning order that starts with the cleanest parts and ends with the dirtiest. This keeps your kit clean too.
Store the kit somewhere dry. Moisture can cause mold on bristles. A small bin near your feeders keeps everything close at hand. Dry storage helps the brushes last longer.
Top 3 Alternatives
Perky-Pet Hummingbird Feeder

- ACCOMADATES MULTIPLE BIRDS: Every feeder features four flower-shaped feeding ports with comfortable U-shaped perches that allow several hummingbirds to feed simultaneously, making these hummingbird feeders for outdoors ideal for busy bird watching seasons
- 8 OZ CAPACITY: Each 2-pack of glass hummingbird feeders have 8oz nectar capacity, providing ample feeding space for multiple hummingbirds while maintaining the perfect size for smaller yards and patios

Last update on 2026-08-27 / Affiliate links / Images from Amazon Product Advertising API Some of the links on this website are affiliate links, which means that at no additional cost to you, I earn a commission if you click through and make a purchase. I only recommend products and services that I believe will add value to my readers. Thank you for your support!
The Perky-Pet feeder is a classic choice for backyard birders who want a reliable option. It holds a good amount of nectar and comes in glass and plastic versions. Its feeding ports sit in a comfortable spot, so hummingbirds can drink with ease. Many people also like that the parts come apart for quick cleaning. Regular cleaning keeps the nectar fresh and safe for visiting birds.
Aspects HummZinger Feeder

- Features 3 feeding ports for simultaneous feeding
- Built-in ant moat and raised flowers keep contaminants away from your nectar
Last update on 2026-11-05 / Affiliate links / Images from Amazon Product Advertising API Some of the links on this website are affiliate links, which means that at no additional cost to you, I earn a commission if you click through and make a purchase. I only recommend products and services that I believe will add value to my readers. Thank you for your support!
The HummZinger feeder is known for its bright red color that draws hummingbirds in from a distance. It includes a built-in ant moat that helps keep crawling insects away from the nectar. The top opens for simple filling, which saves time on busy days. Many gardeners choose this model because it works well in both small and large yards.
First Nature Hummingbird Feeder

Last update on 2026-11-05 / Affiliate links / Images from Amazon Product Advertising API Some of the links on this website are affiliate links, which means that at no additional cost to you, I earn a commission if you click through and make a purchase. I only recommend products and services that I believe will add value to my readers. Thank you for your support!
The First Nature feeder offers a simple design with a few helpful features. It has bee guards over the feeding ports, which reduce bee visits while hummingbirds still feed. Many users appreciate the clear reservoir because they can check the nectar level at a glance. It hangs easily from a patio hook or balcony rail, so it fits well in tight outdoor spaces.
Ease of Use and Cleaning Routine
Set a regular schedule so the job never piles up. A good routine makes cleaning feel simple from the start.
Most people clean feeders every few days in warm weather. Nectar spoils quickly when heat rises. Clean feeders help stop mold and fermentation before they start.
Ease of use also depends on how you store the kit. Keep the brushes dry and in one spot. That way you never search for them during cleaning.
A Facebook group user shared a helpful tip. They said the small brushes also work on regular feeders. This is one user’s experience, so test it yourself.
Make cleaning day part of your routine. Pair it with a task you already do, like refilling nectar. This habit keeps the job quick and easy.
Mark your calendar with a simple reminder. Phone alerts work well for many people. Consistency matters more than perfection.
Track how long each cleaning takes. Over time, you will see which steps slow you down. Then you can adjust your method to save minutes.
Try a short test run before the busy season. Clean one feeder from start to finish. This shows you where the process feels smooth.
Wear gloves if you prefer a clean grip. Gloves also keep your hands away from nectar residue. Rinse the gloves before you remove them.
Keep fresh nectar ready. Cleaned feeders should refill quickly so birds return sooner. Clear nectar looks inviting and stays safer for hummingbirds.
Ease of use grows with practice. The routine becomes second nature after a few weeks. Your kit becomes a simple tool instead of a chore, and you will enjoy the process.
Hygiene and Nectar Freshness
Clean nectar keeps hummingbirds healthy. Fresh nectar matters more than many people think. Sugar water spoils fast in warm weather, and spoiled nectar can harm the birds that drink it.
Watch for cloudy color or floating specks. These signs mean the nectar has gone bad. Dump it right away and never top off old nectar with new.
Use the right recipe. Mix one part white sugar with four parts water. Do not use honey, brown sugar, or artificial sweeteners. Stir until the sugar fully dissolves.
Rinse the feeder with hot water after each refill. Soap can leave a bitter film, so skip it unless you rinse very well. Let every part air dry fully before you add fresh nectar.
Sunlight speeds up spoiling. Hang the feeder in shade when you can. Heat and light together help mold grow faster than you expect.
Store leftover nectar in the fridge for up to a week. Make small batches so you use it up quickly. Never add food coloring, since it offers no benefit and may affect the birds.
Change nectar more often in heat. When temperatures climb, change the nectar every day or two. Cooler weather allows a longer gap. Always check your feeder before you refill it.
Dispose of old nectar away from the feeder area so ants and bees do not gather.
Clean feeders also lower the risk of disease. Birds often share a feeder, so one dirty port can pass germs to many visitors.
Simple habits make a big difference. Check the feeder every day during hot spells. Refresh the nectar often and your birds will stay happy and healthy.
Durability and Storage
Storage starts with drying. Damp bristles can hold moisture and invite mold. Shake off extra water and let each brush air dry before you put it away.
Choose a spot that stays dry and cool. A shelf in a garden shed, a utility drawer, or a hook in the garage can work well. Keep the kit away from direct sun, since heat and light can wear out any cleaning tool over time.
Keep the brushes together in one place. A small bin or zip bag helps you find each one fast. This also stops tiny bristles from getting bent or tangled.
Check the bristles often. Look for splayed, bent, or missing bristles before each cleaning session. Worn brushes may not reach the small openings inside a feeder. Replace them when they stop cleaning well.
Store the kit near your feeders if you can. A nearby hook means less walking and fewer chances to forget a brush. Quick access makes the regular routine feel easier.
Watch for cracked handles or rust on any metal parts too. Damage like this can make cleaning harder and less effective. Retire broken tools before they scrape the feeder surfaces.
Pack the kit in a way that protects the bristles. Lay the brushes flat or hang them by the handles. This keeps the bristles in shape for the next use.
Clean the storage area once a year too. Wipe away dust and old debris so the brushes stay clean between uses. Good storage helps the kit last through many seasons.
Pros and Cons
Pros
- Small brushes may also work on regular feeders, according to one Facebook group user.
- Brushes help scrub off residue that nectar can leave behind.
- A dedicated kit saves you from hunting for makeshift cleaning tools.
- Feeder owners can try the brushes on other feeder styles.
- The kit focuses on one clear job, which keeps the tools easy to find.
Cons
- No drawbacks are documented in our research so far.
- Only one user has shared feedback, so the evidence is limited.
- Key details like brush size and materials are not confirmed.
- Durability over time is not yet tested in our research.
Who Should Buy It
This kit suits bird lovers who want a simple cleaning routine. It works well for people who already own hummingbird feeders at home.
New bird watchers often feel unsure about cleaning. This kit gives them one clear set of tools to start with.
Busy households may also appreciate the simple setup. You can grab the brushes and finish cleaning in minutes.
People with several feeders in the yard can benefit too. One set of brushes can rotate between stations without much fuss.
Gardeners who sit outside often may enjoy this approach. They can keep feeders fresh while they tend plants nearby.
Cautious shoppers should check their own feeder sizes first. Brush dimensions are not confirmed in our research, so measure your feeder openings before you decide.
Shoppers who want a large list of verified reviews may want to read more feedback first.
Families with kids can use this kit as a teaching tool. Children can help scrub feeders under an adult’s watch, which builds good habits early.
Hummingbird fans who travel or work long hours may find the kit helpful. A simple set makes it easier to clean feeders before a trip.
Nature lovers who run classes or clubs can also use it as a demo. Members can see how the brushes work on real feeders.
Anyone who wants a quick and easy cleaning tool should take a closer look. Simple tools often get used more than complicated ones.
In short, this kit fits people who value simple tools and regular care. Think about how often you clean, then decide if it fits your routine.
Still, weigh your options before you commit. A good choice fits your birds, your feeders, and your daily schedule.
Final Verdict
Our verdict is simple. This kit suits people who want a clean, focused tool set for hummingbird feeders. It may also help anyone who wants a tidy cleaning routine.
Think about your cleaning habit first. If you rinse feeders only once in a while, a dedicated kit can make the job feel less like a chore. Busy weeks often push cleaning aside, so a ready kit helps.
Ask a few questions before you buy. Does your feeder have narrow ports? Do you own a mix of feeder styles? Your answers will show whether the brushes fit your yard.
Trust your own testing. Research on this kit is thin, so a short trial can teach you more than any summary. Clean one feeder, note how the brushes feel, and see whether the routine sticks.
Keep the bigger goal in mind. Clean feeders support healthy birds and fresh nectar. A kit like this simply makes that goal easier to reach week after week.
Check the product listing for brush size details. Confirmed measurements help you avoid surprises once the kit arrives. Once you know the dimensions, you can compare them with your feeder ports.
Pick a set day each week for cleaning. Mark it on your phone or a kitchen calendar. A regular date keeps the feeders clean and the birds coming back.
In short, this kit offers a sensible, low effort option. It works best for careful owners who plan ahead and test it themselves.
Frequently Asked Questions
How often should I clean my hummingbird feeder?
Many bird lovers clean their feeders every few days during warm weather. Nectar spoils faster when temperatures rise. Check the liquid each time you refill the feeder.
What is the easiest way to start cleaning?
Rinse the feeder with hot water first. Then use a brush to reach the inside parts. Let every piece air dry before you refill it.
Should I take the feeder apart before scrubbing?
Yes, take the feeder apart when you can. Separate the parts so the brushes reach hidden corners. Clean each piece before you put it back together.
What signs show that a feeder needs cleaning right away?
Look for cloudy nectar, dark spots, or a sour smell. Cloudy nectar is a clear warning sign. Empty the feeder, clean it well, and refill it with fresh nectar.

Hello, I’m Amelia White, the founder of birdsfanatic.com. As a lifelong bird enthusiast and spiritual seeker, I’ve always been fascinated by the mystical connections between birds and the human experience. On this site, I share my knowledge and insights into the symbolic meanings and spiritual significance of various bird species, exploring their roles in mythology, folklore, and cultural traditions. Join me on this journey into the world of birds, where we’ll discover the hidden wisdom and guidance that these magnificent creatures have to offer.

